IV Help Guide

Loading...

Add a New Widget

Welcome to our tutorial on managing our ever growing collection of code widgets available to be added to your website. This section covers the various ways to you can add a new widget to your website. To begin click the arrow next to a topic below and our visual guide will appear. To advance to the next step simply click the next button inside the appropriate box.

There are four methods to add a widget to your page:

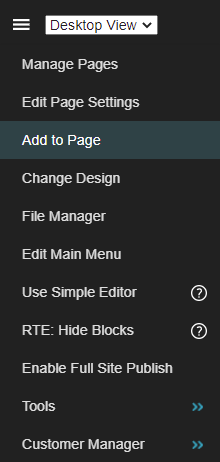
  • Click the button on the top toolbar and choose Add to Page .
  • Click New Widget.
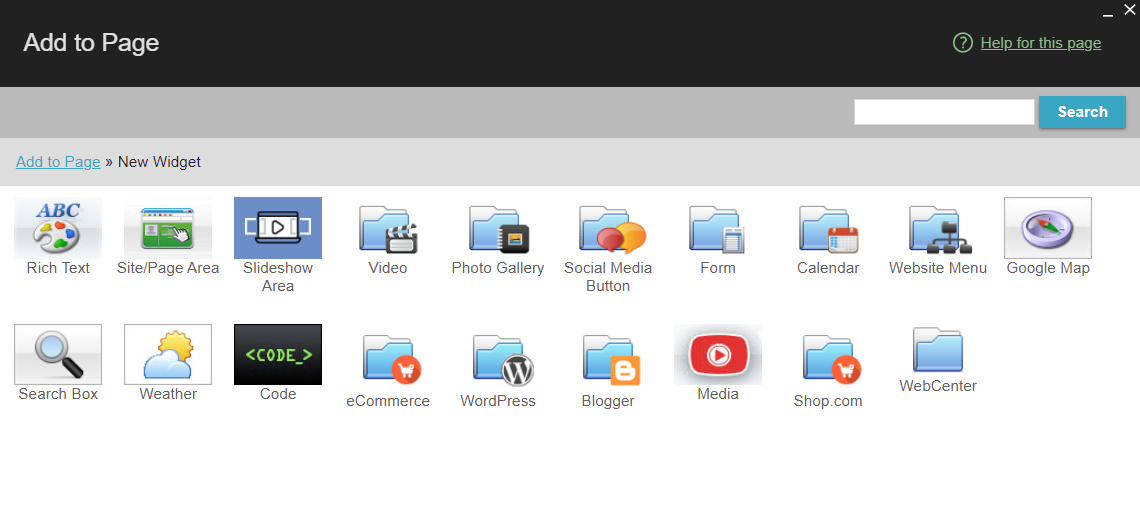
  • Click and hold your mouse on the icon for the type of widget you would like to add. Some widget types are grouped together into sub-folders, which you can click to select from those widgets.
  • While still holding the mouse button, drag the icon onto the page. A green bar will appear where the widget would be placed. Release your mouse button once the green bar is where you want it.
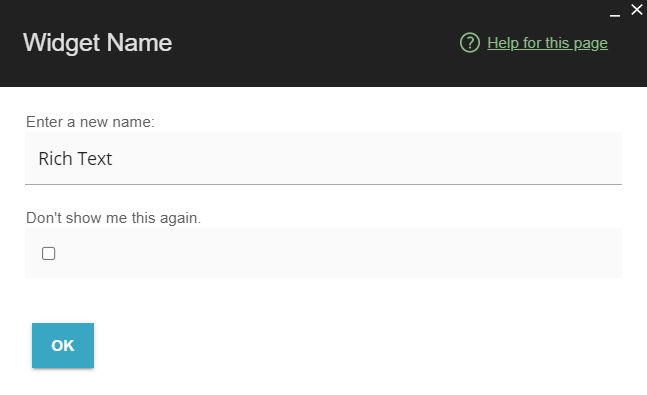
  • You will be prompted to enter a name for the new widget and click OK. This name can be used later to add a copy of the widget to other locations by selecting it from the Existing Widget folder.
  • The edit window for your new widget will open, allowing you to immediately add and customize its content.
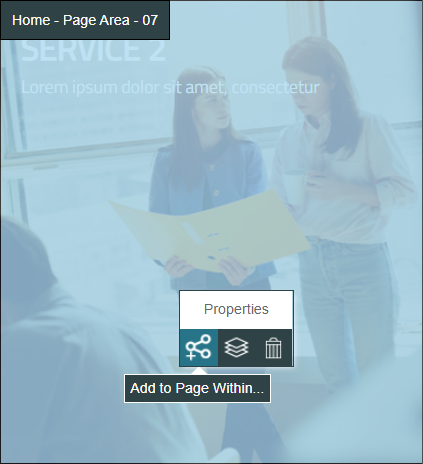
  • Hover over the Page or Site Area where you would like to add a widget. The Hover Menu will appear.
  • On the Hover Menu, click the bottom left button for Add to Page Within....
  • Click New Widget.
  • Click on the icon for the type of widget you would like to add. Some widget types are grouped together into sub-folders, which you can click to select from those widgets.
  • You will be prompted to enter a name for the new widget and click OK. This name can be used later to add a copy of the widget to other locations by selecting it from the Existing Widget folder.
  • The new widget is added at the top of the Page or Site Area you chose. The edit window for your new widget will open, allowing you to immediately add and customize its content.
  • Hover over the general area where you would like to add a widget. The Hover Menu will appear.
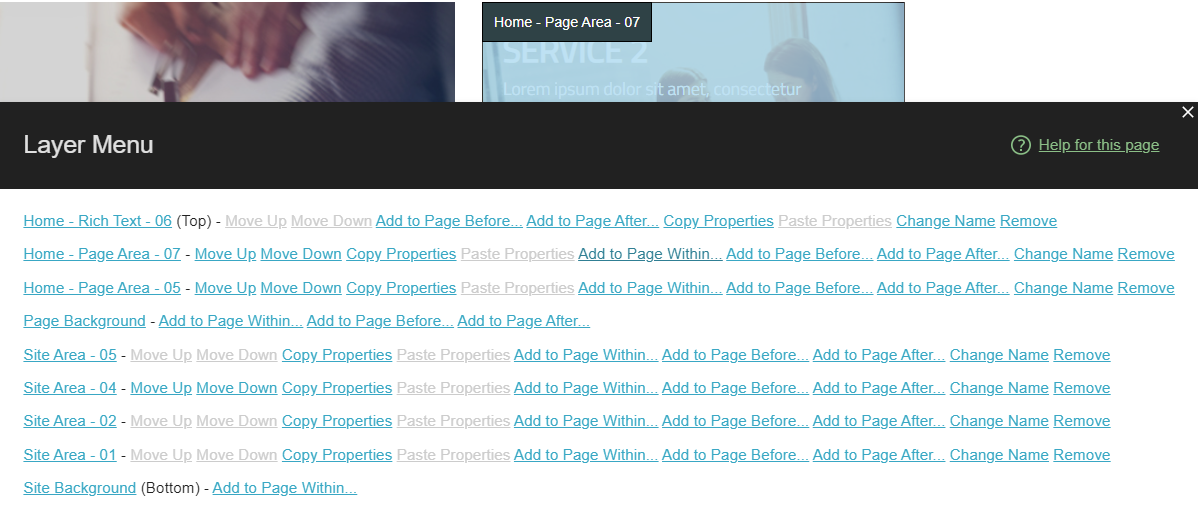
  • On the Hover Menu, click the bottom middle button for Layer Menu.
  • Hover over Add to Page Within to the right of the Page or Site Area you want to add the new widget to. The area will highlight to show which one you are selecting. Once you've found the area you want, click Add to Page Within.
  • Click New Widget.
  • Click on the icon for the type of widget you would like to add. Some widget types are grouped together into sub-folders, which you can click to select from those widgets.
  • You will be prompted to enter a name for the new widget and click OK. This name can be used later to add a copy of the widget to other locations by selecting it from the Existing Widget folder.
  • The new widget is added at the top of the Page or Site Area you chose. The edit window for your new widget will open, allowing you to immediately add and customize its content.
  • Hover over the general area where you would like to add a widget. The Hover Menu will appear.
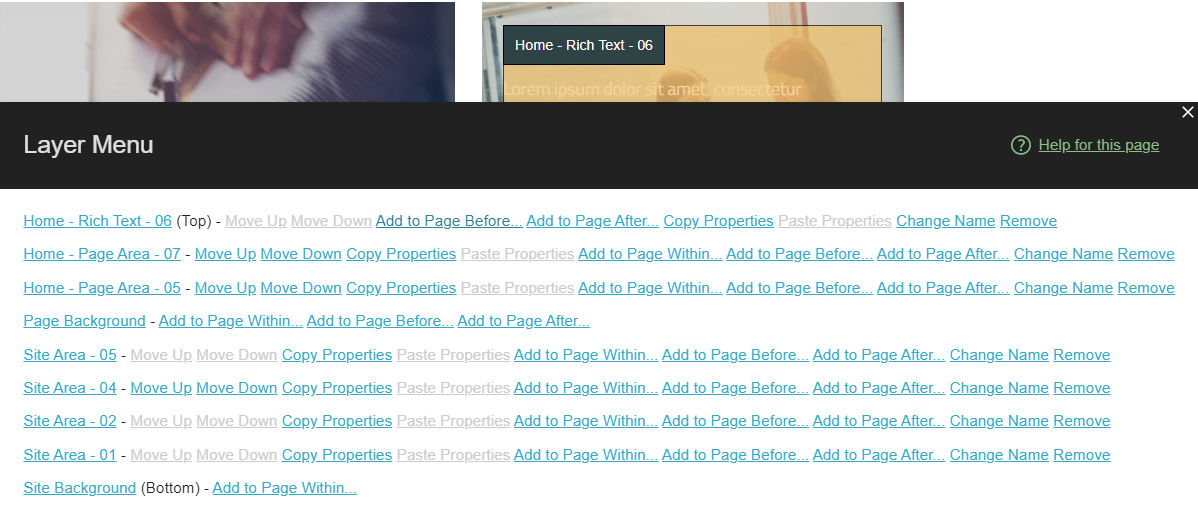
  • On the Hover Menu, click the bottom middle button for Layer Menu.
  • Hover over Add to Page Before or Add to Page After to the right of the widget you want to add the new widget near. The area will highlight to show which one you are selecting.
  • Click New Widget.
  • Click on the icon for the type of widget you would like to add. Some widget types are grouped together into sub-folders, which you can click to select from those widgets.
  • You will be prompted to enter a name for the new widget and click OK. This name can be used later to add a copy of the widget to other locations by selecting it from the Existing Widget folder.
  • The new widget is added directly before or after the widget you chose. The edit window for your new widget will open, allowing you to immediately add and customize its content.
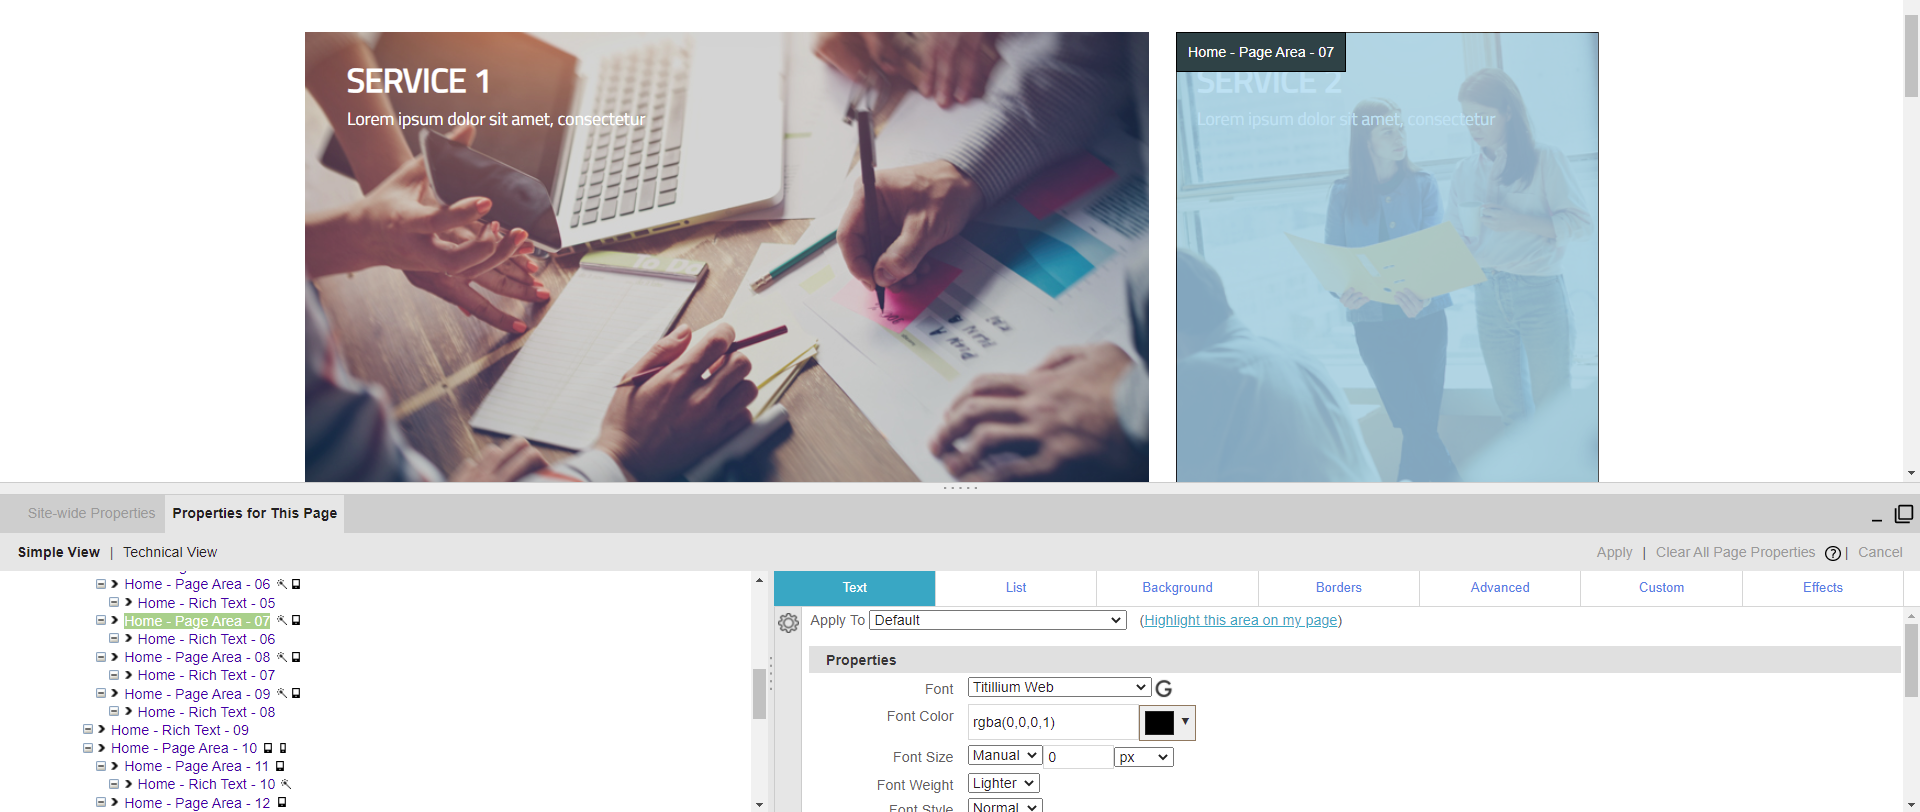
  • Open the Properties menu by clicking the "__" button in the bottom right corner.
  • Find the area you would like to add the widget to in the list. Areas will highlight as you hover over them, allowing you to find the correct area.
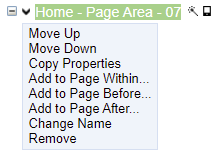
  • Click the ">" icon next to the area to expand its options menu.
  • Click Add to Page Within.
  • Click New Widget.
  • Click on the icon for the type of widget you would like to add. Some widget types are grouped together into sub-folders, which you can click to select from those widgets.
  • You will be prompted to enter a name for the new widget and click OK. This name can be used later to add a copy of the widget to other locations by selecting it from the Existing Widget folder.
  • The new widget is added at the top of the Page or Site Area you chose. The edit window for your new widget will open, allowing you to immediately add and customize its content.
  • Open the Properties menu by clicking the "__" button in the bottom right corner.
  • Find the area you would like to add the widget near in the list. Areas will highlight as you hover over them, allowing you to find the correct area.
  • Click the ">" icon next to the area to expand its options menu.
  • Click Add to Page Before or Add to Page After.
  • Click New Widget.
  • Click on the icon for the type of widget you would like to add. Some widget types are grouped together into sub-folders, which you can click to select from those widgets.
  • You will be prompted to enter a name for the new widget and click OK. This name can be used later to add a copy of the widget to other locations by selecting it from the Existing Widget folder.
  • The new widget is added directly before or after the widget you chose. The edit window for your new widget will open, allowing you to immediately add and customize its content.

© 2022 4.0 Help Guide