IV Help Guide

Loading...

Tax

Welcome to our tutorial on setting up tax rates for your eCommerce. Different states, counties, industries, products, and customers can potentially have different tax rates that need to be collected on an order. These tutorials will assist you in creating the individual rules necessary to enable you to comply with your local tax laws. To begin click the arrow below next to a topic below and our visual guide will appear. To advance to the next step simply click the next button inside the appropriate box.

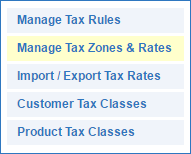
  • First, you'll need to create the tax rate. From the navigation menu, choose Sales > Tax > Manage Tax Zones & Rates.
  • Click Add New Tax Rate.
  • The Tax Identifier is the name used to reference this rate in other areas.
  • Choose your Country.
  • Choose your State or leave it at *.
  • If you leave Zip/Post is Range as No, you need to enter a specific Zip/Post Code.
  • If you leave Zip/Post is Range as Yes, you can enter a Range From and Range To.
  • The Rate Percent is the percentage that will be applied for tax. Enter the percentage as a whole number (so for 8%, you would enter 8).
  • When you're finished, click Save Rate.
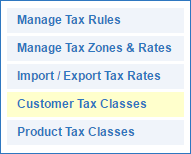
  • Next, you'll need to create a customer tax class. From the navigation menu, choose Sales > Tax > Customer Tax Classes. There is one class, Retail Customer, included by default, so you can skip this step if you don't need another class.
  • Click Add New.
  • Enter a Class Name
  • When you're finished, click Save Class.
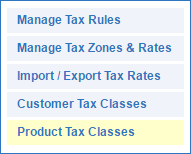
  • Next, you'll need to create a product tax class. From the navigation menu, choose Sales > Tax > Product Tax Classes. There are two classes, Shipping and Taxable Goods, included by default, so you can skip this step if you don't need another class.
  • Click Add New.
  • Enter a Class Name
  • When you're finished, click Save Class.
  • Next, you'll need to create a customer tax class. From the navigation menu, choose Sales > Tax > Customer Tax Classes. There is one class, Retail Customer, included by default, so you can skip this step if you don't need another class.
  • Click Add New.
  • Enter a Class Name
  • When you're finished, click Save Class.
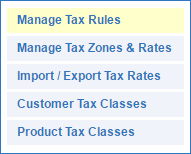
  • Finally, you'll need to create a tax rule. From the navigation menu, choose Sales > Tax > Manage Tax Rules.
  • Click Add New Tax Rule, or click on the existing rule to edit it.
  • Enter a Name
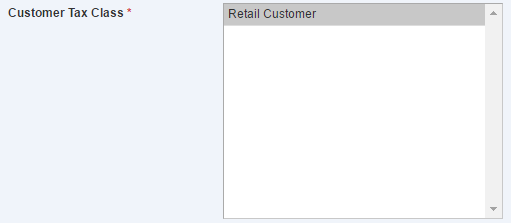
  • Click a Customer Tax Class to select it. You can use the Ctrl and/or Shift keys to select multiple classes.
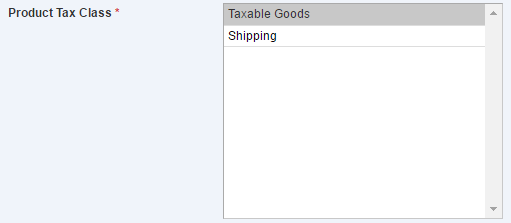
  • Click a Product Tax Class to select it. You can use the Ctrl and/or Shift keys to select multiple classes.
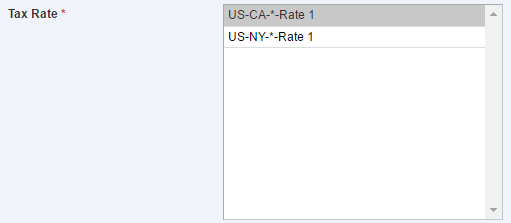
  • Click a Tax Rate to select it. You can use the Ctrl and/or Shift keys to select multiple classes.
  • Enter a Priority, which controls the order in which multiple tax rules are applied. A lower priority number gets applied first.
  • Check whether or not you want to Calculate based off subtotal only.
  • When you're finished, click Save Rule.

© 2022 4.0 Help Guide